🐍 Setting up Python for scientific image analysis#
Python can be used to process, analyze, and visualize your images. There are several ways of installing and setting up Python on your computer. If you have never used Python before, we recommend that you follow the steps below to get started.
Install Miniconda#
If you haven’t yet installed Python, Anaconda, or Miniconda on your machine, we recommend you install Miniconda which is a minimal installer for conda. Click on the link below to download the installer:
Miniconda: https://www.anaconda.com/download/success
Once you have downloaded the installer, run it to install conda.
Verify your installation
Verify that you have conda installed by typing conda -V in your terminal. This should print out a version number.
Create a Python virtual environment#
A virtual environments lets you isolate the packages and dependencies that you need for a specific project. Using virtual environments will ensure that these dependencies do not create conflicts between the different Python projects you may be working on.
Type the following commands in your terminal to create a virtual environment (named project-env) using conda:
conda create -n project-env python=3.11
The -n parameter specifies the name of the virtual environment (here, project-env). We also specify the Python version to be 3.11. Python is constantly evolving and new versions are regularly released. At the time of writing, modern versions include 3.10 to 3.13.
Tip
Print a list of the virtual environments available on your machine by typing conda env list.
Activate your environment#
Let’s install a few Python packages into your project-env environment. To do that, you first have to activate the environment. Use the following command:
conda activate project-env
If you successfully activated the environment, you should see (project-env) to the left of your command prompt. To deactivate your environment and switch back to the (base) environment, you can use the conda deactivate command.
Install packages#
Once you have activated your environment, you can install packages in it. Many packages are available for scientific computing, image processing and analysis in Python. For example, take a look at the projects below:

Scikit-image

OpenCV

Scipy
You can install packages using your terminal and a package manager. By default, Python includes a package manager called pip which lets you install packages from the official Python Package Index (PyPI).
Docs
Install Scikit-image#
Let’s install Scikit-image in your project-env virtual environment. To do so, type the following command in your terminal:
pip install scikit-image
To check that your installation was successful, you can type pip show scikit-image. This should print out some information about the package!
Install Jupyter lab#
Jupyter lab is a powerful web appliation that you can use to edit and execute Python code. You can install it in your environment just like a regular Python package with the following command:
pip install jupyterlab
Check your installation
Type jupyter lab in your terminal. This should start the Jupyter lab application in your web browser. To stop Jupyter lab, press Ctrl+C in your terminal window.

Jupyter Lab enables you to work with Jupyter notebooks, which are interactive documents that combine code, visualizations, and narrative text.
Install Napari#
Napari is a powerful multi-dimensional image viewer for Python. You can install Napari by typing the following command:
pip install "napari[all]"
Check your installation
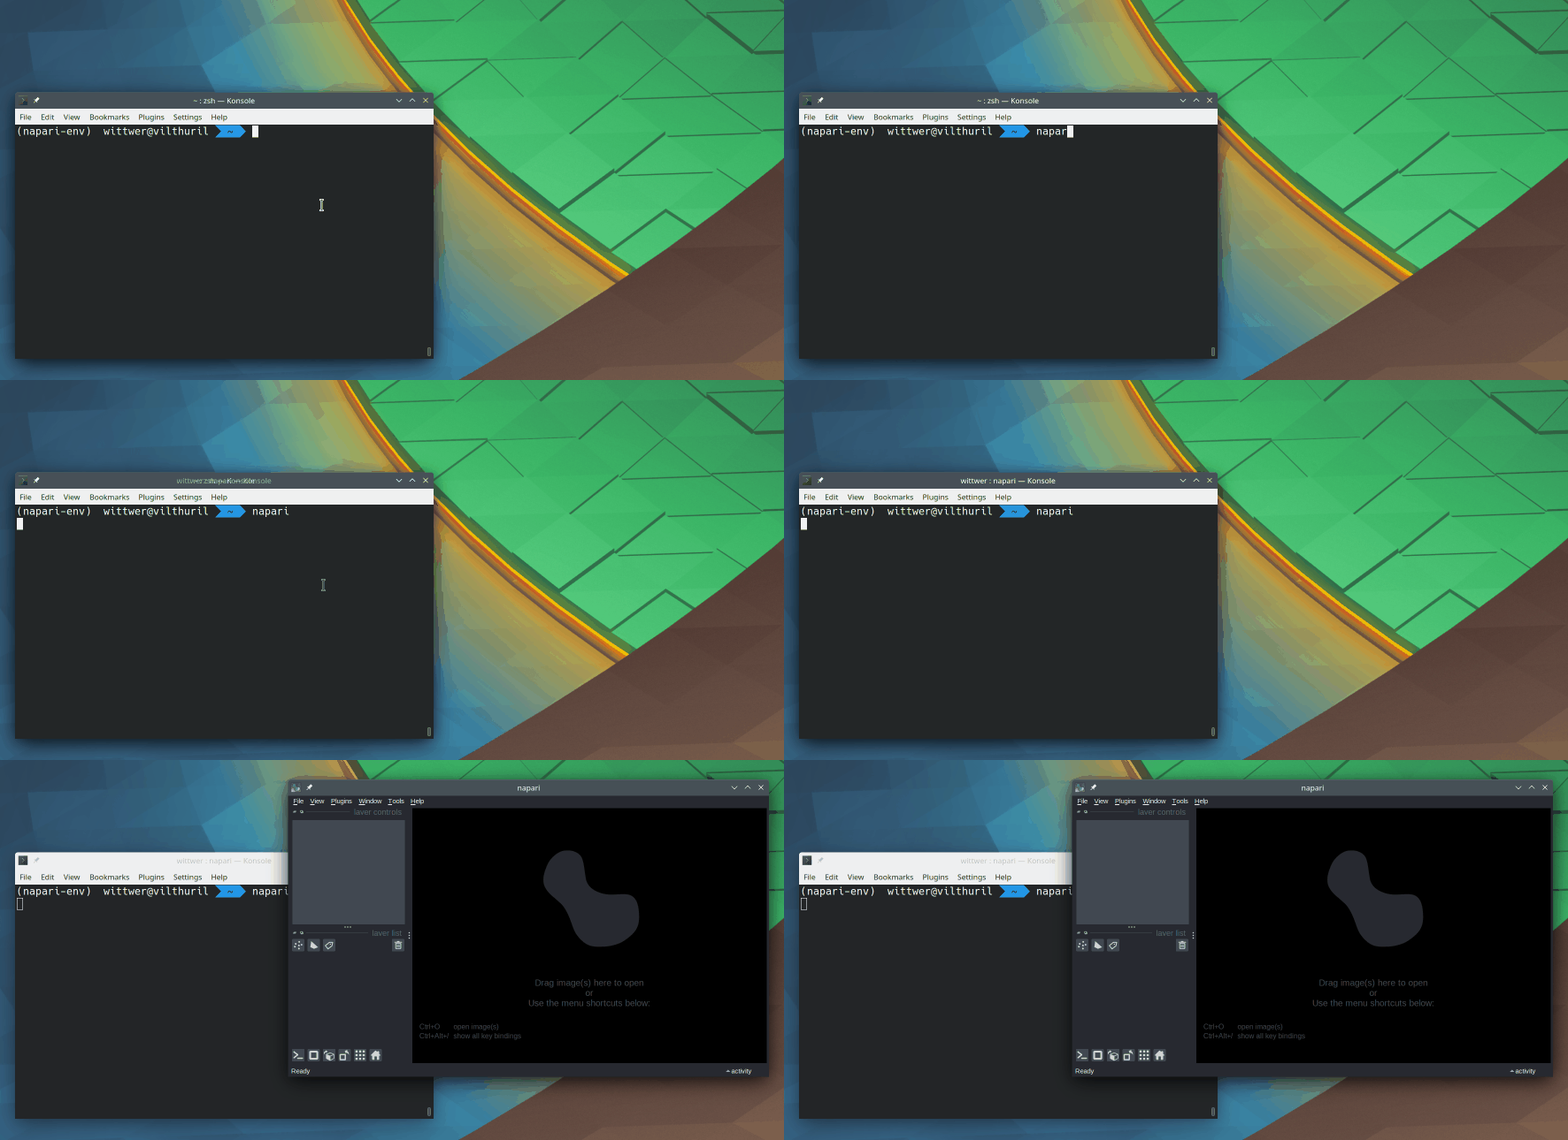
With your virtual environment activated, type napari in your terminal. The Napari viewer should open in a separate window.

Docs
Install a code editor#
Code editors provide many useful features, including syntax highlighting, a file system manager, integrated terminals, and code auto-completion.
We recommend that you try and pick one of the code editors below.
Visual Studio Code
PyCharm
Spyder
Summary#
Congratulations! You’re now ready to work with Python in your image analysis projects.